Marijuana is legal in many parts of the world, making it easy to obtain at dispensaries and recreational stores. But why spend your hard-earned money at a heavily taxed dispensary when you could be growing marijuana yourself? Instead of traveling and paying every time you want to smoke a joint for recreational or medicinal purposes, try opening up a jar and rolling your freshly ground harvest.
Growing a small weed plant for personal use doesn’t need to be difficult. In fact, this step by step guide can help those wondering how to grow a small weed plant with everything they need. We’ll go from start to finish, explaining the entire process. Even if you think you already know how to grow a small weed plant, this guide can help you improve your yield, so that you can get the most out of that single plant. So, follow along to get started growing or learn how to get better at the art.
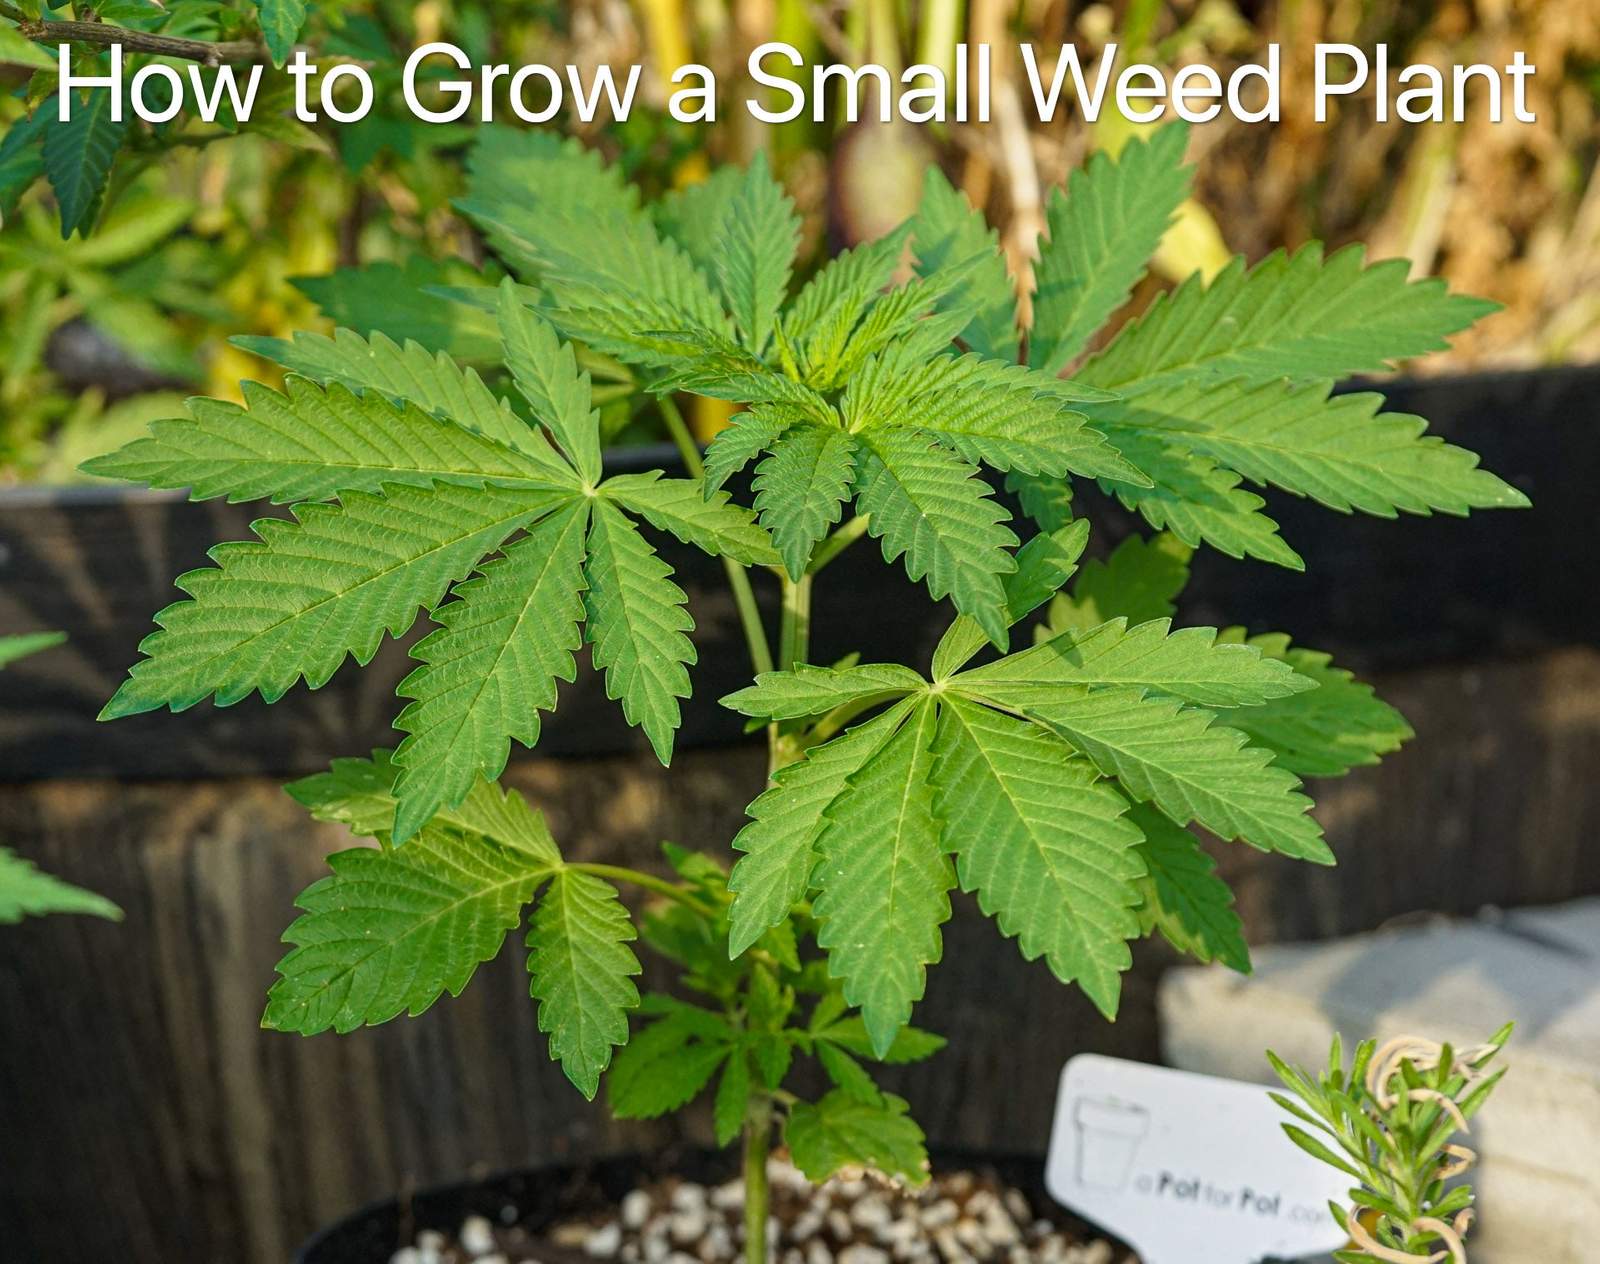
For many people, the idea of “growing weed” summons images of massive warehouse operations, expensive hydroponic labs, or risky basement setups. But the truth is, growing cannabis can be as simple and innocent as keeping a basil plant on your windowsill or a tomato plant on your patio.
Micro-growing—the art of growing just one small plant—is the perfect entry point for beginners. Here is why starting with a single pot is often the smartest move:
It Fits Your Life (and Your Apartment): You don’t need a spare room or a massive tent. A single pot fits in a sunny corner, on a balcony, or inside a small closet. It takes up about as much space as a standard houseplant.
Low Cost, High Reward: Commercial setups cost thousands of dollars. Growing one plant requires minimal investment—just a pot, some good soil, and a little light. Yet, that single plant can yield up to a few ounces of high-quality bud, paying for itself many times over.
Less Smell, Less Stress: Managing the odor of a 10-plant jungle is a full-time job. Managing the scent of one small plant is significantly easier, often requiring nothing more than a bit of air circulation or a small companion plant like lavender or mint to mask the smell.
Legal Compliance: In many states and countries where cultivation is legal, personal limits are strict. Growing a single plant keeps you safely within “personal use” boundaries, removing the stress of legal gray areas.
The “Zen” of Gardening: There is a deep satisfaction in smoking something you nurtured yourself from a seed. It connects you to the plant in a way that buying a baggie never will.
If you have 80 days and a square foot of space, you have everything you need to become a home grower.
Related: The Growth Of A Cannabis Plant

You can grow cannabis either indoors or outdoors. An indoor setup provides total control over the growing process, such as how much light the plants receive. However, indoor growers carry a lot of responsibility since the cannabis plants entirely depend on the grower for their survival.
Alternatively, you could grow your marijuana plants outdoors. This option is less expensive because nature does a significant portion of the work, such as providing sunlight. However, outdoor grow sites aren’t as private as many people would prefer, and growers often have to contend with the risk of their plants being stolen or even trampled by animals.
You’ll need to think about the pros and cons of growing marijuana indoors or outdoors before you start growing. Then, select the option that works best for you.
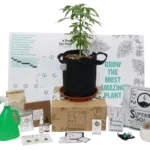
Ready to start growing, see what a Pot for Pot has to offer!

If you grow indoors, you’ll need to think about your plant’s light source. Keep in mind, one of the biggest benefits of growing a single plant is that your plant won’t need much light. In many cases, you can place your plant on a windowsill and have enough natural sunlight for it to thrive.
However, if you’d like to grow your plant in a more discrete location, away from natural light, you’ll need to think about grow lights. In that situation, how to grow a small weed plant quickly becomes how to select the best lighting.
For a single plant, LED grow lights are ideal. LEDs are a popular choice for growing marijuana and are perfect for producing healthy marijuana buds on a single plant. They are also optimized to prevent your plants from receiving too much light, which could cause a condition called ‘light burn.’ Another huge benefit of LEDs is their cost. The bulbs are inexpensive and readily available. They don’t require much energy, and the casual observer will never suspect that you are growing marijuana indoors just by seeing the light shining from your home.
If you opt for natural sunlight, and you aren’t using autoflowers, you’ll need to ensure that your plants receive at least 18 hours of sunlight during the vegetative stage of their growth. Unfortunately, unless you are growing during the correct season and in the right area, this may not be obtainable without supplemental lighting. In other words, even if you are growing outdoors, investing in an LED lamp for those cloudy and or ‘short’ days is a good idea.
There are, of course, other cannabis lighting options, but for a single plant, they will be much more than necessary. However, it is still a good idea to research your options so that you can make an informed decision based on your needs.
Related: Top 10 Lights For Growing Weed Indoors

When thinking about how to grow a small weed plant, the first thing that should come to mind is what you will grow the plant in. Your plant will need a medium that provides the required nutrients for developing picture perfect buds. And, just like grow lights, there are numerous options for grow mediums. Each medium will have its own set of requirements, such as how often you’ll need to water, but in the end, every option is equally capable of producing high yielding cannabis plants.
The most common (and easiest to use) grow medium is soil. Ideally, you should use well-composted organic soil that is rich with nutrients designed for growing cannabis. a Pot for Pot’s Superb Soil is a great example of this. If you do not start off with soil that has been optimized for cannabis growing, you’ll want to ensure that the soil includes perlite, so that it drains well.
You could also go soilless and buy vermiculite, coco coir, or any other soilless mixture. While these may be more expensive than soil, they come with some advantages, such as a reduced likelihood of having to deal with soil-borne diseases and pests. A disadvantage though, is that they do not contain nutrients for your plant, so you’ll need to meter out the proper nutrients in the right proportions and at the right time.
Another option is hydroponic growing. This process grows cannabis plants directly in water. You can produce very high yields with this method, but there is a steep learning curve, and it is a bit expensive (both time and money-wise) for a single plant.
It’s easy to grow a cannabis plant, but nutrients can improve the end results. With marijuana, you want to use specific nutrients that help your plant thrive during the different stages of its growth. Those nutrients should be formulated for the particular medium that you’ve decided to use. Certain nutrients will only work in hydroponic systems, while others are designed for soil.
You’ll also need to consider the pH of your water. If the pH is incorrect, the nutrients cannot be absorbed as well. The pH should be appropriate for the medium that you choose.
To be honest, nutrient and pH levels can be complicated, and a definite hassle when you only want to grow a single plant. A much easier solution is a Pot for Pot Grow kits. Not only are they designed to make growing a single plant simple and easy, but they also provide the best nutrients and medium for your plants so that you don’t have to spend so much time on this step. With these kits, you don’t really need to know how to grow a small weed plant, you simply need to know how to follow instructions.
Related: 11 Cannabis Growing Tips You Need To Try In 2023

Now is the time to use what you’ve learned about Indicas, Sativas, hybrids, and autoflowering cannabis plants. You’ll need it to decide what you’d like to grow.
For example, do you want marijuana plants that provide a strong physical effect, or would you prefer a relaxing mental high? Do you want plants that have a shorter growing period or you don’t mind those that take longer to mature? Are you interested in smaller plants or those that grow really tall?
These questions will help you to narrow down your options and give you a clearer idea of which strain to select.
As for obtaining the actual plants, you could either start with seeds, or small starter plants. A Pot for Pot includes recommendations and discounts to reputable seed banks if you decide to start with a seed. You could also purchase starter plants from a dispensary or breeder near you. If you know a grower who has the type of plants you want, see if you can obtain clones from that individual.
Ready to start growing, see what a Pot for Pot has to offer!

This step only applies if you are growing from seed. There are plenty of ways to germinate a seed, but a premade seed germination kit is the easiest option. To use it, you only need to moisten the medium, insert the seeds, and water as needed. Once your seed sprouts, you can place the entire medium into your pot for easy transplanting.

Once your marijuana seedlings develop a pair of leaves, they have officially entered the vegetative stage. This is the time when cannabis plants have the singular purpose of growing bigger and stronger in preparation for the coming flowering stage.
During the vegetative stage, marijuana plants need plenty of light. You’ll need to give them around 18 hours of light during this phase. Also, ensure that the temperature in your grow room (or wherever you are growing your plants) is a bit warmer than room temperature. That means between 68°F and 86°F.
The long hours of light and high temperature mean that your cannabis plants will need plenty of water, so monitor the moisture level and adjust accordingly. You don’t want your plants to be too thirsty.
How well your plants grow during this stage will directly impact their yield. Smaller plants will yield fewer and smaller buds. Bigger plants, however, are stronger and can support denser, more plentiful buds.

When flowers start to form, you’ve entered the flowering stage. Those little flowers will eventually produce buds – which you can eventually consume. This important phase in the life of your cannabis plant lasts until you harvest the mature buds. Here’s what happens during this stage:
Your plants will get large and bushy. You may want to ‘train’ them by trimming and/or bending the leaves so that there is a flat canopy on top. This allows light to reach all parts of the plant for maximum yields. This is an advanced technique, so you’d want to read up on it first before you try it.
If you did not purchase feminized seeds, or you are unsure of the sex of your plant, you’ll need to confirm that it’s female. How can you know? Simple. Just look at the junction of the branches and observe whether you see wispy white strings emerging from the buds. If these wisps are present, that plant is female. If they aren’t present, then what is growing is a pollen sac, and the plant is male. Male plants do not produce potent marijuana.
Depending on what you are growing, you may need to change the light schedule. You will need to increase the amount of darkness that your plant receives to 12 hours daily. That means, 12 hours of light and 12 of darkness each day. This is an absolute necessity for regular cannabis seeds (which are also known as photoperiod cannabis). Autoflowering marijuana doesn’t depend on a change in the length of daylight hours to start flowering, so this step is not required with those seeds.
For all types of marijuana, you will need to adjust the temperature. The flowering stage requires cooler temperatures, so keep it around 64°F to 78°F. If you used any nutrients, you’ll want to give them a little extra water to flush those nutrients out of your plant’s system. This helps with taste, aroma, and potency when it’s time to enjoy your cannabis.
The most important thing to remember about this stage is to watch your plants. Cannabis plants in the flowering stage are rather sensitive to the conditions under which they are growing. Look for signs of a problem, such as brown leaf tips. This could signify a problem with watering, lighting, or nutrients.
Related: 15 Pros And Cons Of Autoflowering Seeds

You will know that the buds have matured from the color of the pistils. You should see wispy white hairs growing out of the buds. These wisps will change color gradually until they become amber at the peak of maturity.
Harvest the buds once approximately 40 percent of the pistils become darker in color. Wait until 50-70 percent of those hairs have darkened if you want buds with a high THC content. If you want buds that will make you relax, wait until more than 80 percent of the hairs are dark before you harvest. At this time, a significant portion of the THC in the buds will have converted to CBN (a cannabinoid that relaxes and calms the mind).
How do you harvest the buds? Simple, just take some scissors (there are some in the Pot for Pot complete kits) and clip the buds off the branches on which they are attached! Next, you’ll need to hang them to dry out for 4-5 days, and sometimes perform a final close trimming of small leaves and stems. Then you’ll put your harvested buds into a jar or other sealed container and burp the container (release air and re-seal) every few days for about 2 weeks to cure your buds and make them nice to smoke. You’ve now grown a single marijuana plant, with plenty of weed for you to enjoy!
Related: The Ultimate Guide to Harvesting Cannabis
Knowing how to grow a small weed plant is likely the hardest part of actually growing it. Now that you know what to do, you are well on your way to enjoying hassle-free, home-grown marijuana.
Ready to start growing, see what a Pot for Pot has to offer!
What’s the difference between feminized and autoflowering seeds?
Autoflowering seeds bloom automatically without having you do anything, while feminized seeds need a change in the light cycle to start the blooming process.
What pot sizes should I be using for Autoflowers?
The ideal pot size for autoflowering cannabis plants would be from 1.5 to 2.5 gallon pots or pots with 5.5 to 9.5 liters in volume.
Why should I use feminized seeds?
Feminized seeds produce 100% female plants. Since the biggest worry of growers is the pollen which can virtually kill the buds, feminized seeds are perfect to prevent male pollination.